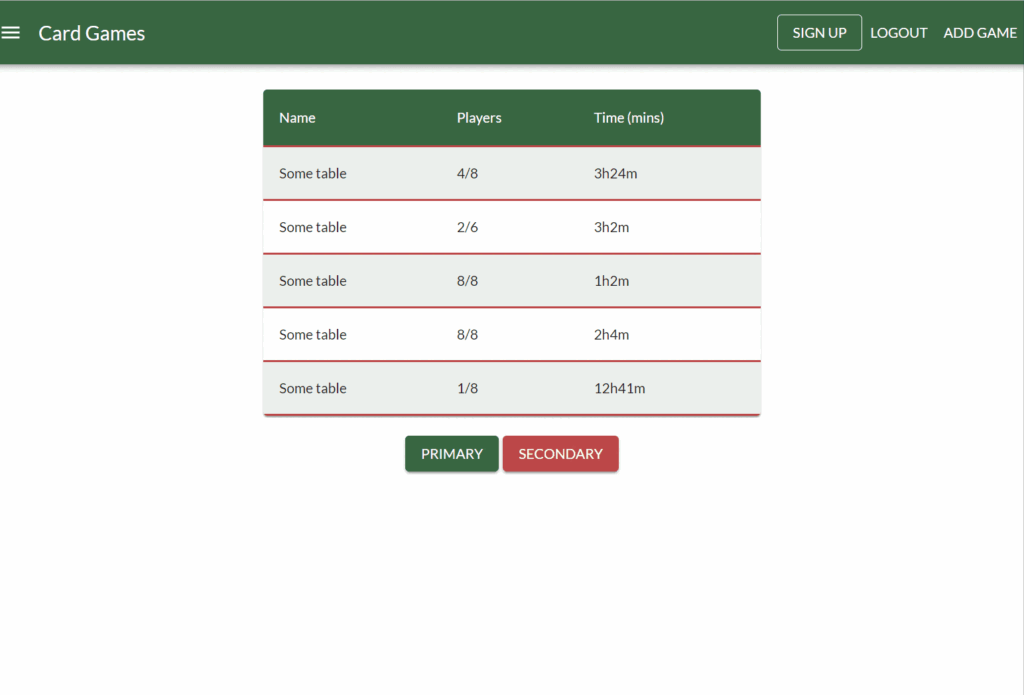
In our previous article, we introduced Recoil to our app. In this article, we’ll add a more complex piece of state, an array of live games currently underway. We’ll also add a button to add new games to our list.
Creating The Atom
The first step is to create an atom that will hold the state of the current games. The games will be stored in an array, with each element containing a high-level overview of the game details.
The details we are storing are as follows:
- the id of the game
- the name of the table
- the number of players currently playing
- The time the table has been active.
Of the above values, we will not be displaying the id value. We can use this id as the key for our table in React.
We begin by creating a folder that will be used to hold Recoil Atoms. This folder is named state for the time being. In this folder, we will create a file named LiveGamesState.js. This file will contain one exported value named liveGamesState.
Using the atom() function from the Recoil package, we can create our array and export it for use by other components. The default value is set to include five made-up tables. This will do for now, as we are just using this to demonstrate using state in our application.
The LiveGameState.js File
The following is the result of the above considerations when generating an Atom for the live games:
import { atom } from "recoil";

export const liveGamesState = atom({
    key: 'liveGamesState',
    default: [
        {
            id: 21,
            name: "Some table",
            players: "4/8",
            time: "3h24m",
        },
        {
            id: 29,
            name: "Some table",
            players: "2/6",
            time: "3h2m",
        },
        {
            id: 31,
            name: "Some table",
            players: "8/8",
            time: "1h2m",
        },
        {
            id: 33,
            name: "Some table",
            players: "8/8",
            time: "2h4m",
        },
        {
            id: 41,
            name: "Some table",
            players: "1/8",
            time: "12h41m",
        },
    ],
});
Using The Atom
Our LiveGamesTable component currently displays the live games in a table. It uses a seed function to create five rows to use as sample data.
Let’s replace this seed function and use our newly minted Atom as the data source for the table.
 //const data = generateTablesData(5);
 const data = useRecoilValue(liveGamesState);
That is all required (other than importing useRecoilValue from recoil). If you run the application at this stage, you will see no difference from what we had in the previous article.
Updating The Atom
Now we can read the data in the LiveGamesState Recoil state. The next step is to be able to add new games to the list.
Let’s create a button in the NavBar that will add new games to our list.
The button will look like this:
<Button onClick={addGame} color="inherit">Add Game</Button>
The addGame function reference in the onClick above will look like this:
function addGame() {
  setLiveGames((liveGames) => [
    ...liveGames,
    {
      id: 52,
      name: "Some table",
      players: "0/8",
      time: "0h0m",
    }
  ]
  )
Note: The addGame function will keep adding the same data to the table. This means that React will complain about the same key being used multiple times in the table. This is OK for now.
Running the app with this button enabled looks like this:

Conclusion
As demonstrated, we can add complex state objects to our application with just a few lines of code. Recoil makes global state management easy to understand and implement.


